I almost always prefer chocolate cake over white or yellow, so if I were to make this again, I would use a chocolate cake as the base. The cream filling was really good, as was the ganache, so I would keep the rest of the recipe as is.
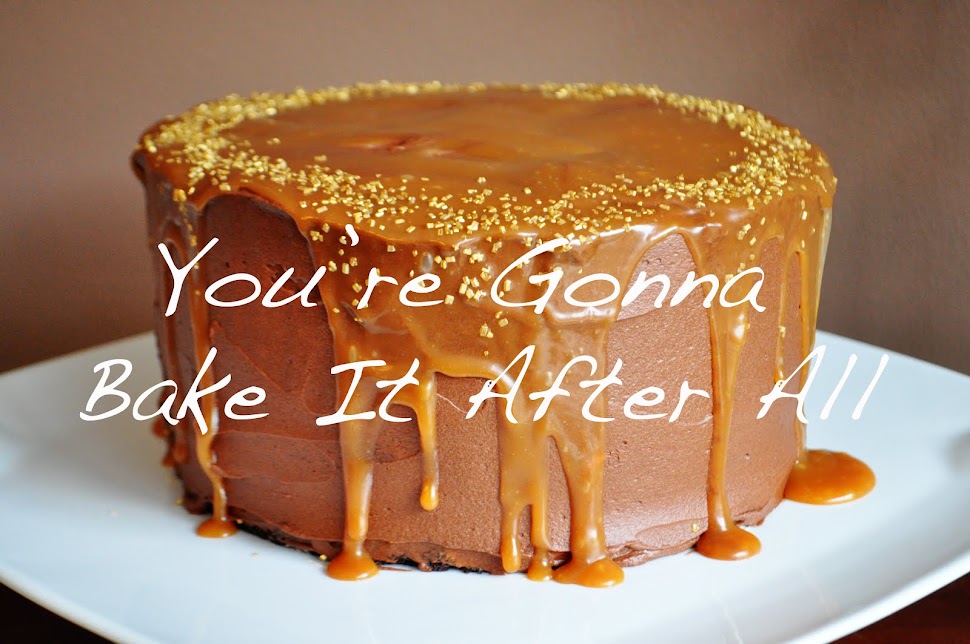
Mocha Cream Cake
Makes 16 servings
Ingredients:
1 package (18.25 ounces) white cake mix
Filling:
1 teaspoon unflavored gelatin
1 tablespoon cold water
1 1/4 cups heavy whipping cream
1/4 cup powdered sugar
2 tablespoons kahlua or other coffee-flavored liqueur
1/2 teaspoon vanilla extract
Ganche:
2 cups (11.5 ounces) milk chocolate chips
3/4 cup heavy whipping cream
1/4 cup butter
2 tablespoons kahlua or other coffee-flavored liqueur
Chocolate Triangles (see recipe below)
Directions:
1. Prepare cake batter according to package directions; bake in two 9-inch round pans as directed. Cool completely on wire racks.
2. For the filling: In a small bowl, combine gelatin and water; let stand for 2 minutes. Microwave on high for 10 seconds. Stir until gelatin is dissolved; set aside. In a large mixer bowl, combine the 1 1/4 cups cream, powdered sugar, kahlua, and vanilla. Beat at medium speed while slowly drizzling in gelatin mixture. Beat util stiff peaks form. Chill for several hours or overnight until ready to assemble.
3. For the ganache: In a small bowl, combine the milk chocolate chips, the 3/4 cup cream, and butter. Microwave for 3 minutes on medium-high (~70% power), stirring halfway through cooking time. Stir in kahlua. Chill for 45 to 60 minutes until thickened but still pourable. Beat with an electric mixer until spreadable, about 1 to 2 minutes.
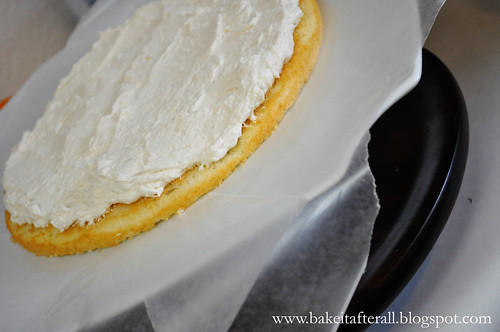
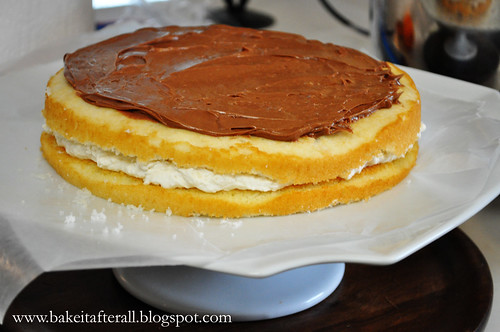
4. To assemble the cake: Split cooled cakes horizontally. Place one layer on serving plate. Spread half of the filling over the top.
Top with the second cake layer. Spread about 1/2 cup of the ganache over the second layer.
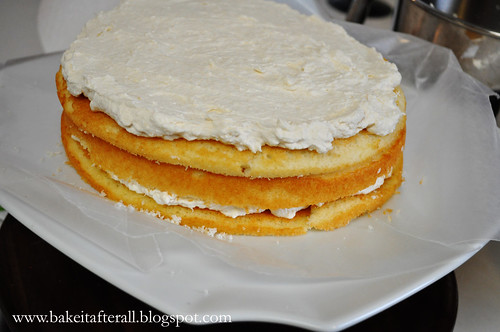
Top with the third cake layer and spread remaining filling over top.
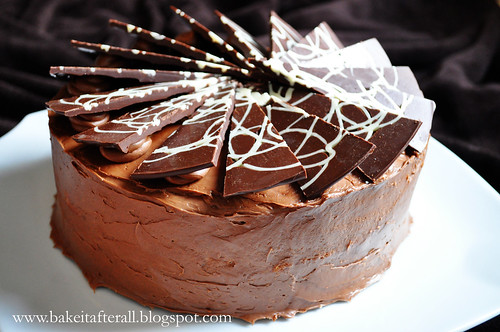
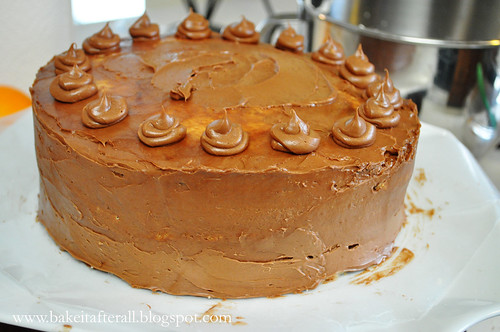
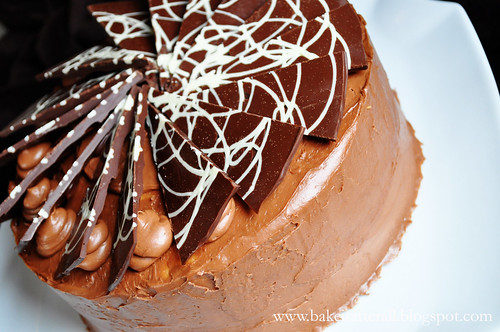
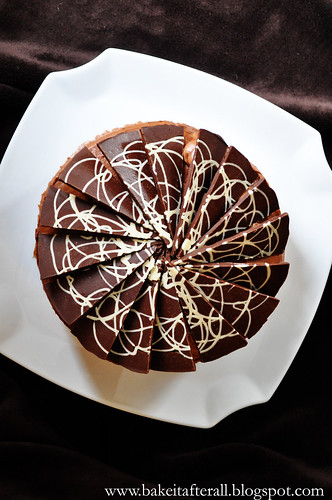
Reserve about 1/2 cup of the ganache. Spread remaining ganache over top and sides of cake. Use reserved ganache to make 16 evenly spaced dollops around top outer edge of cake.
Chocolate Triangles
Makes 16 triangles
Ingredients:
1 cup (6 ounces) semi-sweet chocolate chips
2 tablespoons solid shortening
1 1/2 squares (1 1/2 ounces) white chocolate
Directions:
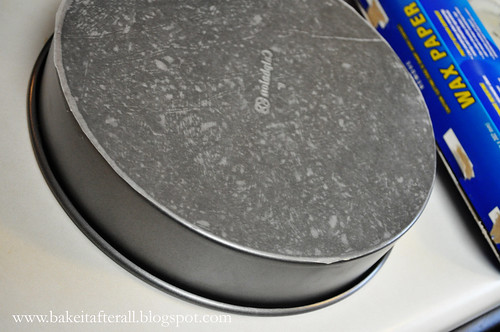
1. Cut a circle of waxed paper to fit the bottom of a 9-inch round cake pan. Lightly coat the outside bottom of the pan with butter (to keep the paper from moving); place waxed paper circle on bottom of pan.
2. Place semi-sweet chocolate and shortening in microwave-safe bowl. Microwave for 30 seconds on medium-high (~70% power); stir. Continue to microwave and stir in 30-second intervals until chocolate can be stirred smooth. Set aside to cool to room temperature.
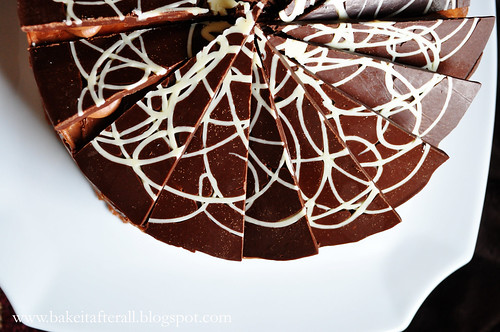
3. Melt white chocolate in a similar manner to the chocolate in step 2. Transfer to a piping bag with a small tip or a resealable plastic bag with a corner cut off. Make a squiggly design of white chocolate over the surface of the waxed paper. Chill on the pan until firm, about 5 minutes.
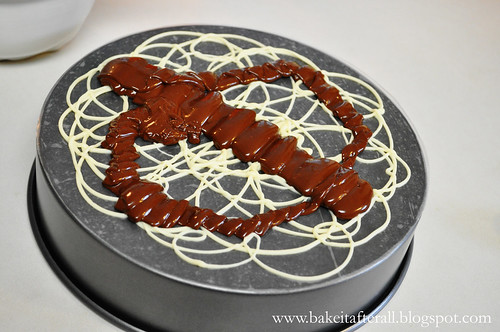
4. Spread the cooled chocolate in a smooth, even layer over the white chocolate squiggles. Chill for 15 to 25 minutes.
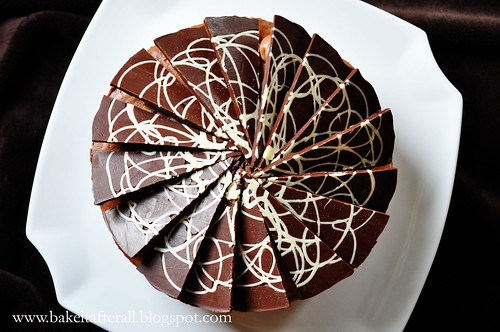
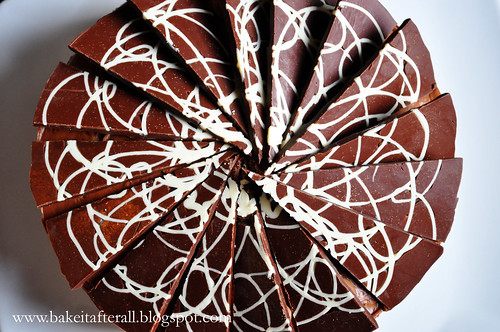
5. Transfer the chocolate disc to a cutting board. Using a large sharp knife, cut the chocolate into 16 wedges. Chill until ready to assemble cake. Remove waxed paper before arranging triangles with squiggle side up on cake.
Source: Dierberg's Markets "Everybody Cooks" Magazine


No comments:
Post a Comment