This is my 100th post!!! I thought I would get here much sooner, but I didn't realize how much my cooking and baking would slow down as I finished up my degree! I wanted to post something special for this occasion, and I think this cheesecake is definitely 'grander' (and more time consuming!) than your run of the mill dessert.
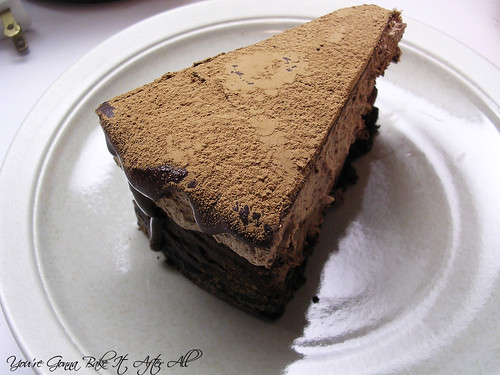
The Godiva Chocolate Cheesecake at Cheesecake Factory is my ultimate favorite indulgence dessert (see below!):

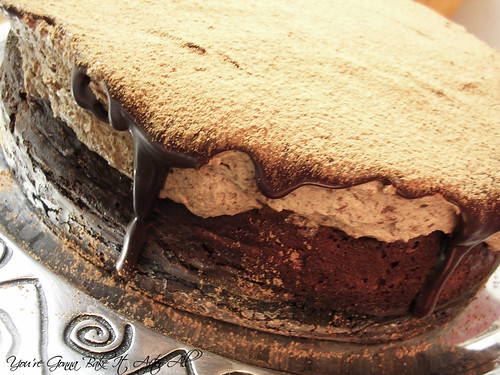
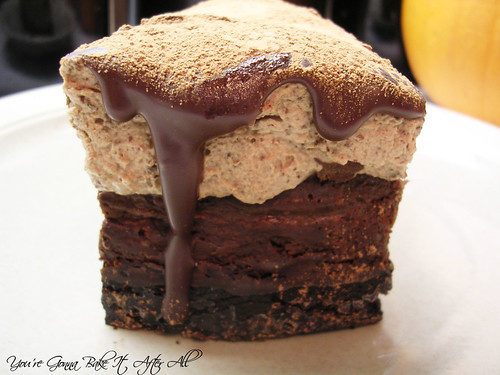
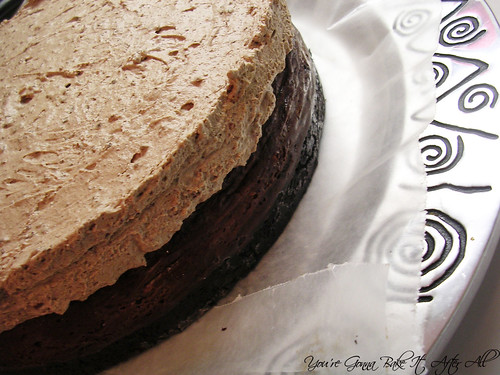
It's a layer of flourless chocolate cake (that's just the crust people!), topped with chocolate cheesecake, then chocolate mousse, and covered in chocolate ganache, which is sprinkled with cocoa powder - WHAT!!!!!!!! Insanely delicious and I'm sure oh-so horrible health-wise. For this reason, I very rarely have this cheesecake (plus it's like $8 a slice!), but for my birthday, which was last week, I decided I wanted to create my own version at home. I've been planning to do this since my birthday last year in fact. I even eluded to it in a previous post!
To do this, I chose recipes that I thought would work together to recreate this dessert. I knew Dorie's ganache would work wonderfully and the cheesecake layer from the Bailey's Irish Cheesecake would be perfect, but I didn't have any recipes for the flourless chocolate cake and chocolate mousse. The flourless chocolate cake had to be thin since it was the crust. I considered making this chocolate mousse, but from the picture the mousse looks like a dark chocolate one, so I thought I should search for another recipe.
In the end, this cheesecake took a long time to put together (I broke it up into multiple weeknights), and unfortunately I can't say it was any better than Cheesecake Factory! (although how can you beat perfection???) For me, I think I would have been just as happy buying an individual slice for my birthday, and I would have had more free time during my birthday week! I served this cheesecake to some friends at a Game Night, and they really loved it. Everyone had a different layer that was their favorite, so that was fun. Like a true married couple, my favorite was the ganache and the cheesecake, and Bob's was the mousse and the crust! If you're looking for a chocolately dessert to impress your friends, this is a great one. If you're just looking to satisfy a chocolate craving for yourself, get to the nearest Cheesecake Factory and order a slice of the Godiva Chocolate Cheesecake!


Ultimate Chocolate Cheesecake
Note: I made the crust and cheesecake on night 1, the mousse and ganache on night 2, and served the cheesecake on nights 3 and 4.
For the crust:
4 1-ounce squares semi-sweet chocolate, chopped
1/2 cup butter
3/4 cup white sugar
1/2 cup cocoa powder (I used dark chocolate cocoa powder)
3 eggs, beaten
1 teaspoon vanilla extract
For the cheesecake:
Original recipe found HERE but I adapted it for the size of this cake:
2 8-ounce packages cream cheese, softened
1/2 cup sugar
2 eggs
1 1/3 cups sour cream
3/4 teaspoon vanilla extract
1/4 cup Bailey's Irish Cream or strong coffee
6 1-ounce squares semi-sweet chocolate, melted
For the dark chocolate mousse:
5 1/4 ounces bittersweet chocolate, coarsely chopped
14 ounces cold heavy cream
3 large egg whites
1 ounce sugar
Ganache ("glaze") recipe HERE
Directions:
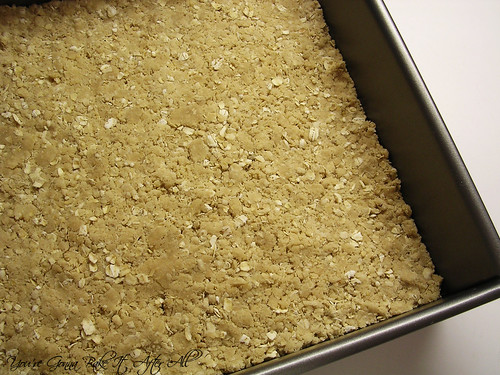
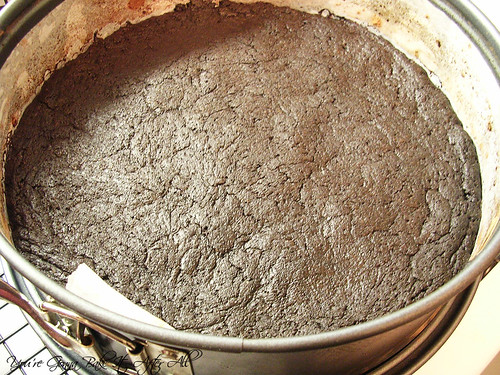
Make the crust:
Preheat the oven to 300F.
1. Grease an 8- or 9-inch springform pan and then line with parchment paper (the bottom and sides). Grease the paper as well, then dust with cocoa powder.
2. In the top of a double boiler over lightly simmering water, melt chocolate and butter. Remove from heat, and stir in sugar, cocoa powder, eggs, and vanilla. Pour into prepared pan.
3. Bake for 30 minutes. Let cool to room temperature before adding cheesecake mixture. I used the back of a spoon to sort of smush the cake down to make for a thinner crust.
Source: Allrecipes.com
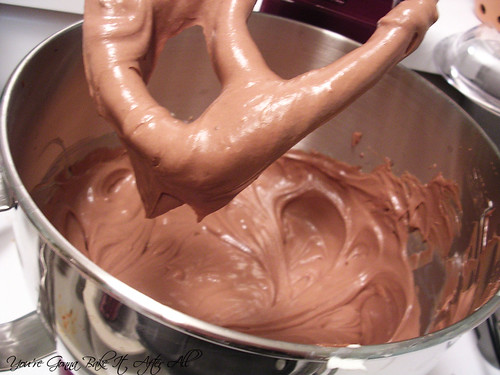
Make the cheesecake:
Preheat the oven to 325F.
1. In a large mixer bowl, beat cream cheese and sugar until light and fluffy. Add eggs one at a time while beating. Stir in sour cream, vanilla, and Bailey's or coffee. Stir in the melted chocolate.
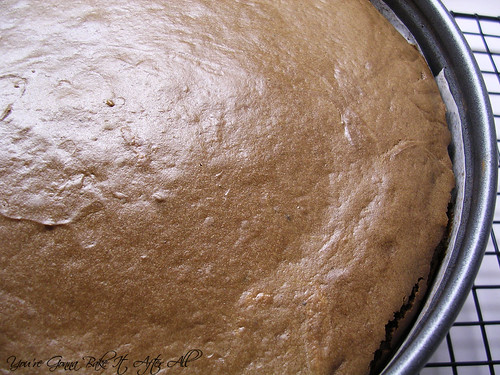
2. Pour mixture over crust. Bake for about 1 1/2 hours, until the center is raised and set. Let cool to room temperature. Proceed to mousse step or cover cake with aluminum foil and refrigerate until the next day.
Source: Adapted from a recipe by Kerry M.
Make the dark chocolate mousse:
1. Place the chocolate in a large bowl set over low simmering water (or in the top of a double boiler). Stir chocolate until melted. Turn off the heat and let stand (to room temperature).
2. Beat the cream over ice until it forms soft peaks. Set aside and hold at room temperature. With a mixer, whip egg to soft peaks. Gradually add the sugar and continue whipping until firm. (I prechilled my mixer bowl, which may have been a mistake since I think it made my whipped cream and egg whites too cold, which is might explain why the chocolate solidified in step 3 before completely incorporating)
3. Transfer the chocolate to a large bowl. Using a whisk, fold the egg whites into the chocolate. (Note: This is what the recipe from Food Network says, and might be an error. I don't think of "whisk" and "fold" as being compatible, so I used a spatula to fold them together, not a whisk.) When the eggs whites are almost completely incorporated, fold in the whipped cream.
4. Add mousse on top of cheesecake and smooth top. Cover cake with foil and refrigerate until ready to top with ganache.
Make the ganache:
Follow directions outlined HERE (Dorie Greenspan's recipe). Allow to cool briefly - don't let the ganache cool too much or it will start to harden when it hits the cold mousse and be harder to spread. If you'd like the ganache to drip down the sides of the cheesecake, remove the springform pan sides and place cake on a platter lined with wax paper (the wax paper just needs to cover the bottom edges of the cake).
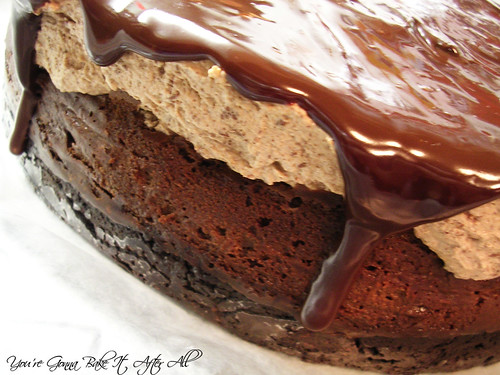
Spread the ganache over mousse layer, allowing to drip down sides if desired. Sprinkle with cocoa powder (optional). Cover cake with aluminum foil and chill.